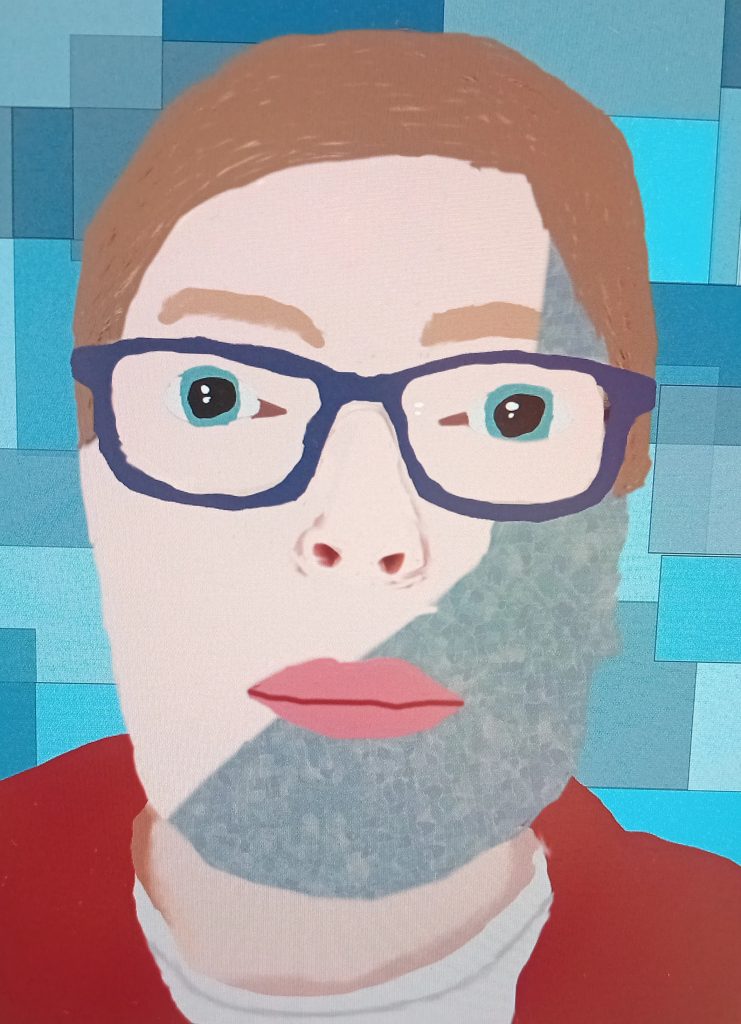
For my first portrait, I wanted to make it look realistic but not actually realistic. For the background I used many different shades of blue of different opacities to create shapes/squares (using the rectangle tool) and made a cool pattern out of them. For my actual portrait I first outlined my head and shoulders to get rid of the original background. I then outlined the rest of what needed to be outlined and slowly started filling in the smallest parts of my face to the biggest parts. For one side of my face I decided to use a pattern and customised it. I did this to give an Andy Warhole effect and it makes the portrait less boring. After most of the portrait was done, I started doing some shading around my nose and neck, which I did by adding a darker colour to my skin tone and blending them into each other using the smudge tool.

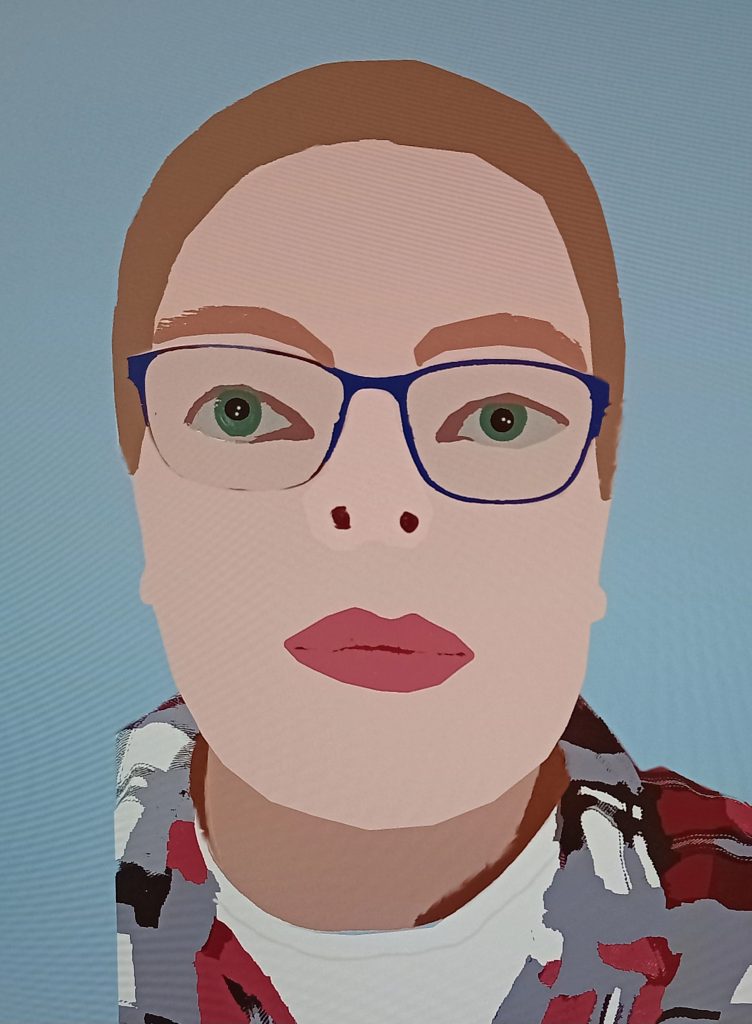
For my second portrait, I decided to make it more realistic. I used a slightly different self portrait than the last. I first got rid of the original background and then outlined everything that needed to be outlined. I then filled in the biggest parts first then moved into the smaller parts so I pay attention to the details. I made this as realistic as I could make it. After my face was done, I started on my shoulders and shirt. I used the outline tool to outline that and filled in each individual colour on the shirt as accurately as I could. I then started some shading around the neck by using the smudge tool yet again.
For the background, I kept this simple as i wanted to capture the details on the portrait. I made a greyish-blue rectangle and layered in underneath my portrait.